The post More power for the xTool S1: 20W vs. 40W laser by Christina Widner appeared first on BASIC thinking. You can always stay up to date with our newsletter.

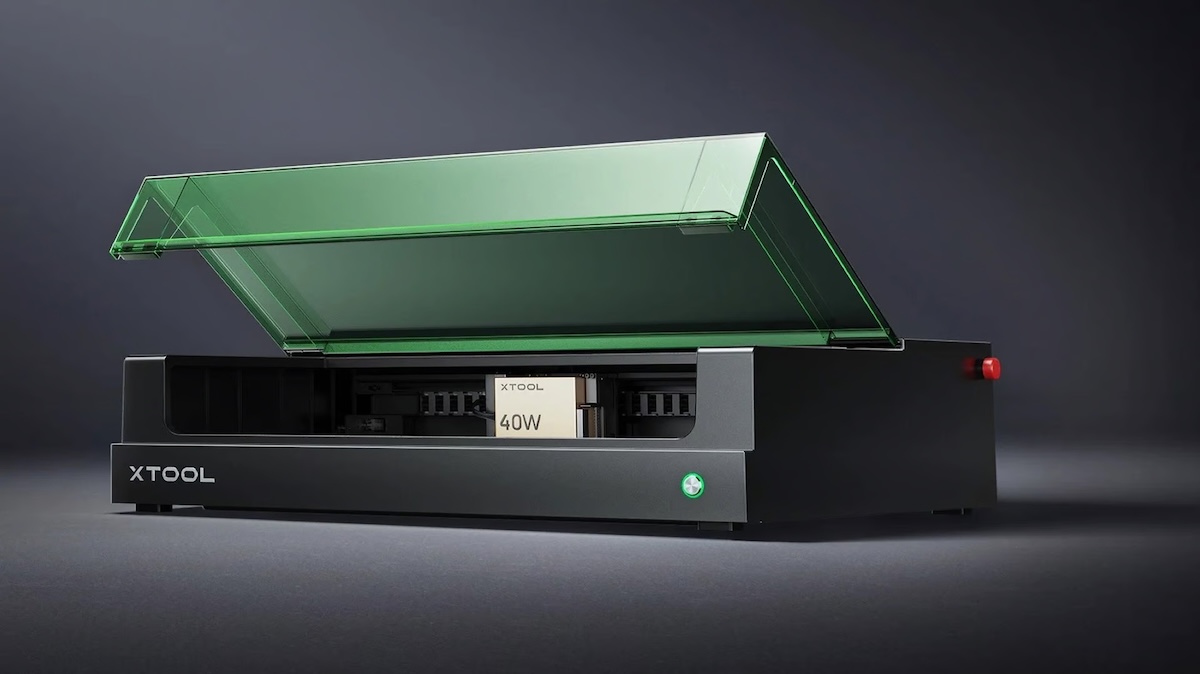
The xTool S1 is a diode laserwhich has already impressed many hobbyists and professionals with its 20W module. But what if you want to work even faster and cut thicker materials more precisely? This is where the 40W laser module comes into play – a powerful upgrade that opens up completely new possibilities for your xTool S1. In this article you will find out why the switch makes sense and how to replace the laser module step by step.
Why upgrade to the xTool S1 40W laser?
We have already tested the xTool S1 with the 20W laser in detail. Over time we noticed that we were reaching our limits with the 20W laser and couldn’t carry out all the work. For this reason we decided to replace the laser. Upgrading from 20W to 40W brings numerous advantages, especially if you often work on more demanding materials. Here are the most important reasons:
- Work faster: Thanks to the higher power, the 40W laser can cut and engrave materials significantly faster. This saves time on larger projects.
- Stronger cutting force: While the 20W laser copes well with thin materials, the 40W laser easily copes with thicker materials such as 15-20 mm wood, acrylic or other solid materials.
- More precise results at high speeds: With more power, the cutting quality remains constant even at higher working speeds.
The upgrade is particularly worthwhile for anyone who works professionally, produces larger quantities or wants to process more complex materials.
This is how the exchange works: step-by-step instructions
Replacing the laser module on the xTool S1 is uncomplicated and only requires a few simple steps. Here is the exact procedure:
What you need
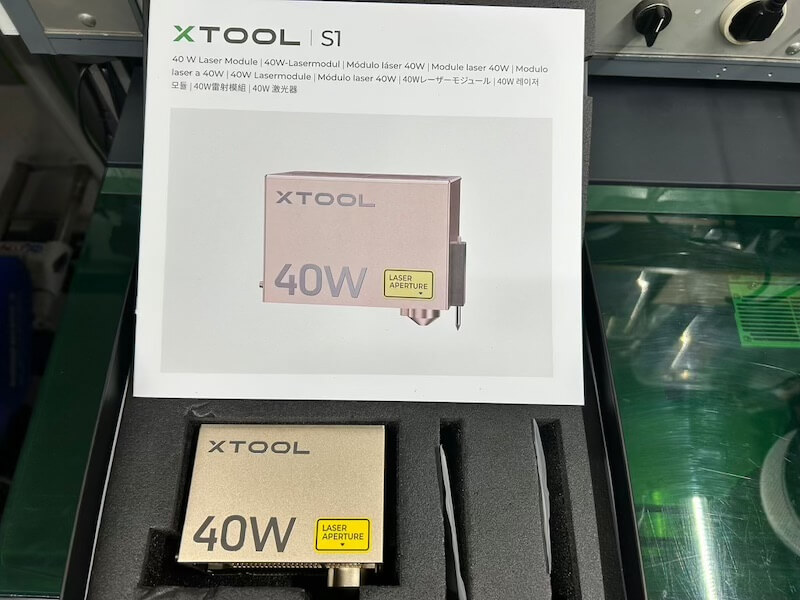
Before you begin, make sure you have this 40W laser module from xTool. You also need the xTool S1 and the appropriate tool, which is usually included with the laser module.

Step 1: Preparation
To safely replace the laser, first turn off the xTool S1 and unplug it to completely disconnect the power supply. This is important to avoid short circuits or unwanted activations. Also make sure your work surface is free of dust, tools, or other obstructions so that the device can be placed safely.
Step 2: Removing the 20W laser module
Now start by removing the existing 20W laser module. To do this, first loosen the fastening screws that fix the module to the bracket. The best way to do this is to use the included Allen key or the appropriate tool, if available.
Once the screws are loosened, carefully disconnect the wiring that connects the laser module to the control unit. It is important to proceed carefully so as not to damage the sensitive cables and connections. After the cables are separated, you can slowly and safely lift the 20W module from the holder and put it to the side.
Step 3: Insert the 40W laser module
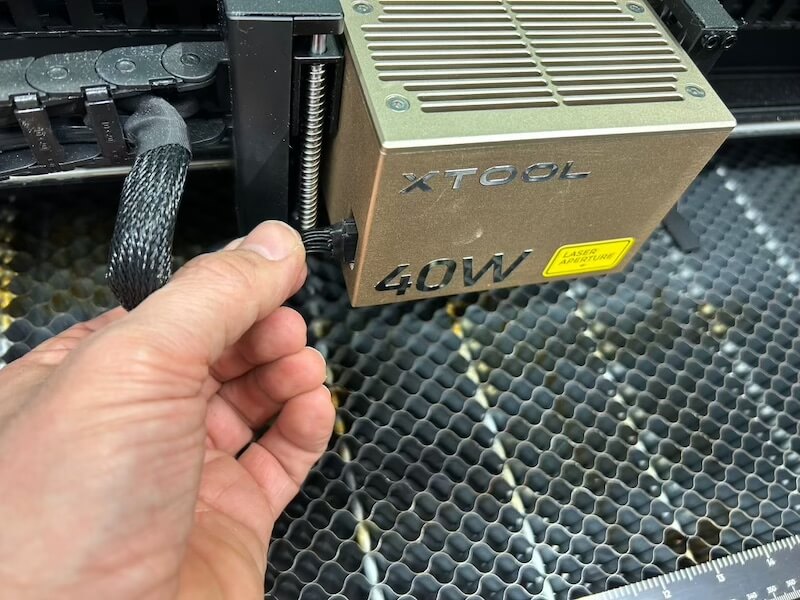
After the old module has been removed, you can install the new 40W laser module. Carefully insert the 40W module into the holder provided and make sure that it is positioned correctly. Then attach it with the previously loosened screws so that it sits firmly and securely.

A tight fit is important to avoid vibrations during operation that could affect the precision of the laser. Once the module is attached, connect the cables of the new laser module to the control unit. The ports are usually color-coded or have clear plugs so that you can make the connection easily and without errors.
Step 4: Calibration and test run
After successfully installing the new 40W laser module, connect the xTool S1 to the power supply again and switch on the device. You then calibrate the laser module to ensure that the laser is correctly aligned and functioning optimally. The xTool software guides you step by step through the calibration process.
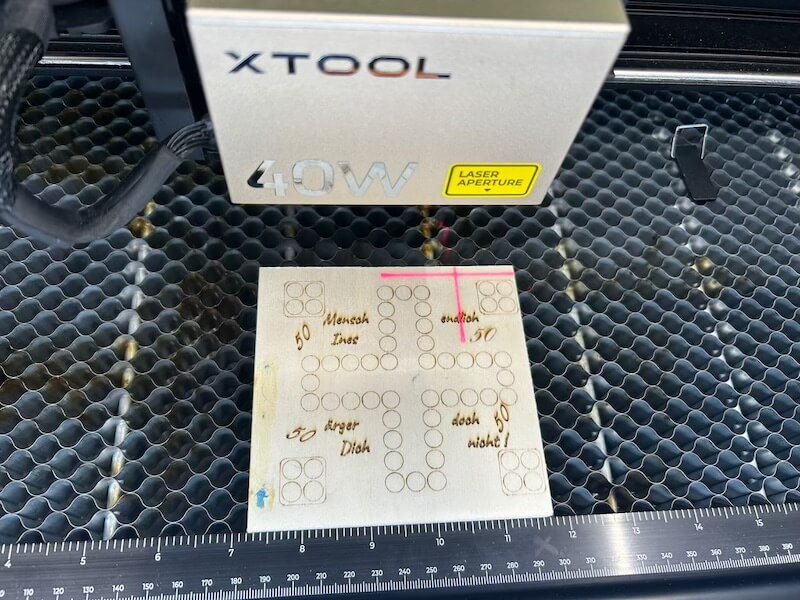
After calibration is complete, it is recommended to do a short test run. To do this, use a simple material to do a test engraving or test cut. This way you can check whether everything works as desired and whether the new 40W laser module works precisely and efficiently.

Conclusion: More options with the xTool S1 40W laser
Replacing the 20W laser module with this more powerful 40W module is a straightforward process that will give your xTool S1 a huge performance boost. Thanks to the additional power, you can cut thicker materials, increase your working speed and also complete more demanding projects. If you often carry out larger or more complex work, this upgrade is definitely worth it – and installation is easy, even without any prior technical knowledge.
To the xTool S1 40W laser module
The post More power for the xTool S1: 20W vs. 40W laser by Christina Widner appeared first on BASIC thinking. Follow us too Google News and Flipboard.
As a Tech Industry expert, I believe that the decision to choose between a 20W and a 40W laser for the xTool S1 ultimately depends on the specific needs and requirements of the user.
A 20W laser is typically sufficient for a wide range of engraving and cutting tasks on various materials such as wood, acrylic, and leather. It provides decent speed and accuracy for most projects, making it a good choice for hobbyists and small businesses.
On the other hand, a 40W laser offers significantly more power, allowing for faster operation and the ability to work on thicker or harder materials. This makes it ideal for industrial applications or users who require high-speed and high-precision engraving or cutting.
Ultimately, the decision should be based on the intended use of the xTool S1 and the materials that will be worked on. It is important to consider factors such as budget, desired speed and precision, and the specific requirements of the projects that will be undertaken.
Credits